[Hero Wars Guide]Titans Brawl Recommended Teams: fix Brustar
Contents
- Titan Brawl Recommended Teams and Playing Strategies
- Method Description
- Warning List Contents
- Pattern 1: Dark 3 (Bruster Mort Tenebris) + Light 2 (Iyari Solaris)
- Pattern 2: Dark 2 (Bruster Tenebris) + Light 2 (Iyari Solaris) + Araji
- Pattern 27: Dark 2 (Mort Tenebris) + Light 2 (Iyari Solaris) + Araji
- Pattern 24: Dark 3 (Bruster Keros Mort) + Light 2 (Iyari Solaris)
- Pattern 15: Dark 3 (Keros Mort Tenebris) + Light 2 (Rigel Solaris)
- Pattern 18: Dark 3 (Bruster Keros Tenebris) + Light 2 (Rigel Solaris)
- Pattern 25: Dark 3 (Bruster Keros Tenebris) + Light 2 (Amon Solaris)
- Pattern 28: Dark 3 (Mort Keros Tenebris) + Light 2 (Amon Solaris)
- Pattern 19: Dark 3 (Bruster Mort Tenebris) + Light 2 (Amon Solaris)
- Pattern 20: Dark 3 (Bruster Mort Tenebris) + Light 2 (Amon Iyari)
- Pattern 16: Water 3 (Sigurd Nova Hyperion) + Dark 2 (Bruster Tenebris)
- Pattern 26: Water 3 (Sigurd Nova Hyperion) + Dark 2 (Mort Tenebris)
- Pattern 21: Water 3 (Sigurd Nova Hyperion) + Light 2 (Iyari Solaris)
- Pattern 17: Dark 2 (Bruster Tenebris) + Light 2 (Rigel Solaris) + Sigurd
- Pattern 22: Fire 3 (Moloch Araji Ignis) + Light 2 (Iyari Solaris)
- Pattern 23: Fire 4 + Solaris
- Normal List
- Attacking Team (Dark 3 + Light 2)
- Pattern 3: Water 4 + Araji
- Pattern 4: Fire 4 + Hyperion
- Pattern 5: Earth 4 + Araji
- Pattern 6: Dark 4 + Solaris
- Pattern 7: Light 4 + Tenebris
- Pattern 8: Sigurd Nova Super 3
- Pattern 9: Angus Silva Super 3
- Pattern 10: Earth 3 (Angus Avalon Eden) + Light 2 (Rigel Solaris) *
- Pattern 11: Earth 3 (Angus Avalon Eden) + Light 2 (Iyari Solaris) *
- Pattern 12: Dark 3 (Bruster Mort Tenebris) + Light 2 (Rigel Solaris)
- Pattern 13: Light 3 (Rigel Iyari Solaris) + Dark 2 (Bruster Tenebris)
- Pattern 14: Light 3 (Rigel Iyari Solaris) + Dark 2 (Mort Tenebris)
- Play Guide
- Recommended Video (Youtube)
Titan Brawl Recommended Teams and Playing Strategies
Method Description
- One team can beat most teams.
- Some opponents may prove exceptionally challenging, so we recommend reviewing the warning list and making team adjustments if you prioritize a high winning percentage.
Verification of Attacking Teams
- The effectiveness of the attacking team is confirmed based on the maximum power observed during combat training.
- We conduct 10 tests involving Eden or Silva. Given that this isn’t a Guild War, we believe this is an adequate number of trials.



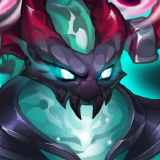
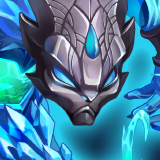
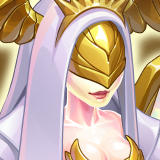
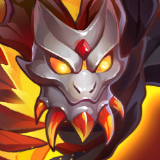
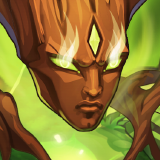
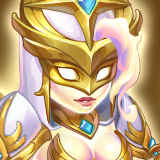
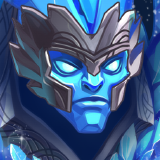
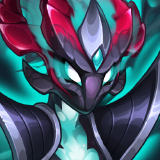
Warning List Contents
(Note: Not all combinations have been verified, soPatterny be more than thosePattern
| Attack Teams | Defense Teams |
|---|---|
     |      |
     |      |
     |      |
     |      |
     |      |
     |      |
     |      |
     |      |
     |      |
     |      |
     |      |
     |      |
     |      |
     |      |
     |      |
     |      |
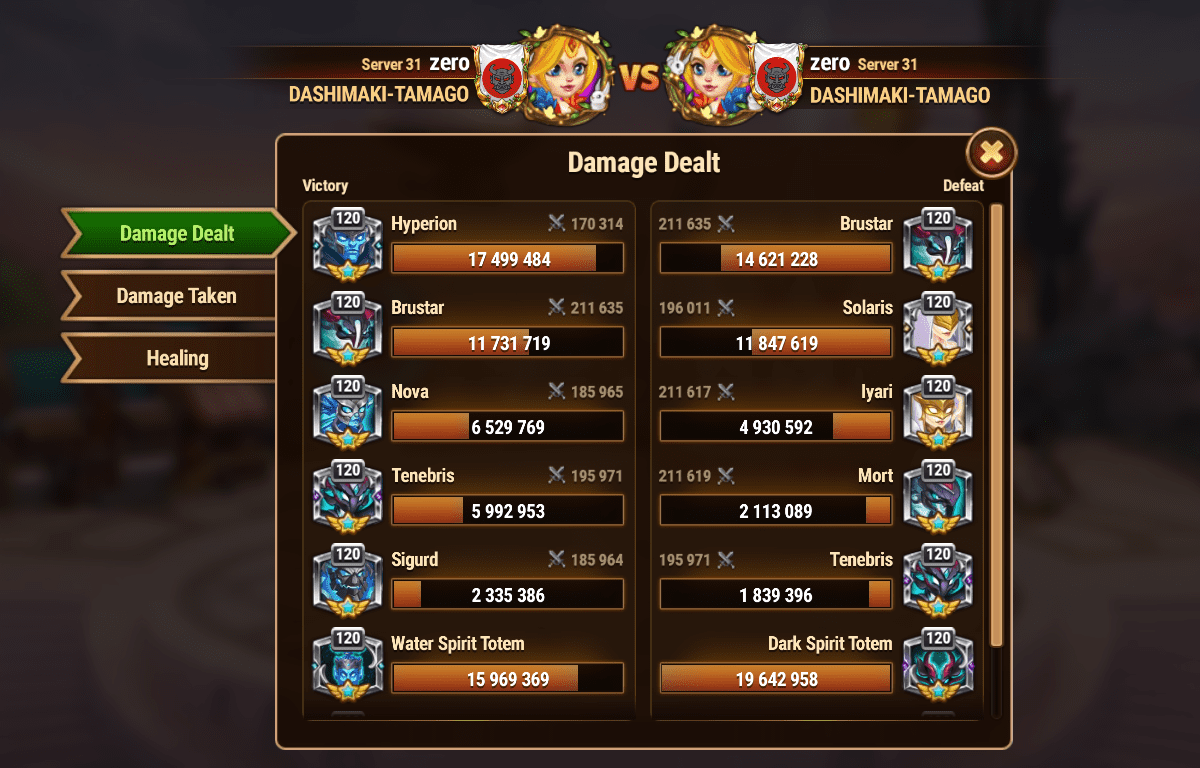
Pattern 1: Dark 3 (Bruster Mort Tenebris) + Light 2 (Iyari Solaris)
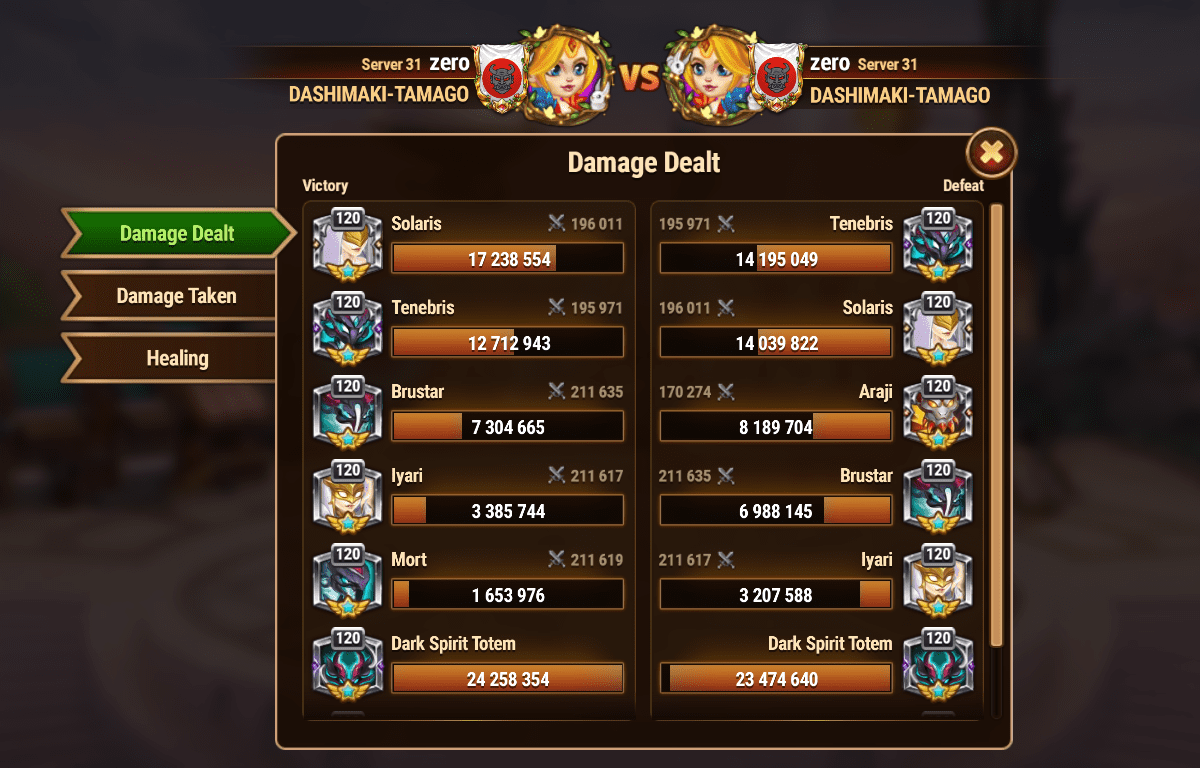
Pattern 2: Dark 2 (Bruster Tenebris) + Light 2 (Iyari Solaris) + Araji
Pattern 27: Dark 2 (Mort Tenebris) + Light 2 (Iyari Solaris) + Araji
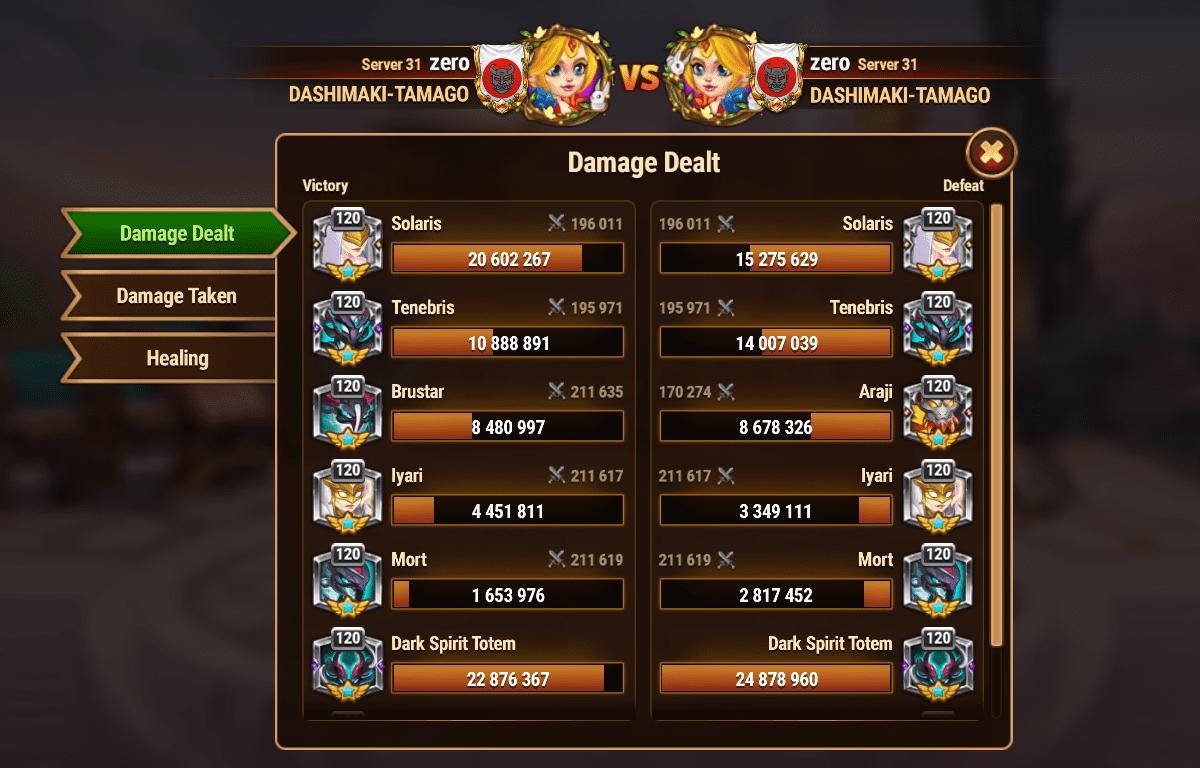
Pattern 24: Dark 3 (Bruster Keros Mort) + Light 2 (Iyari Solaris)
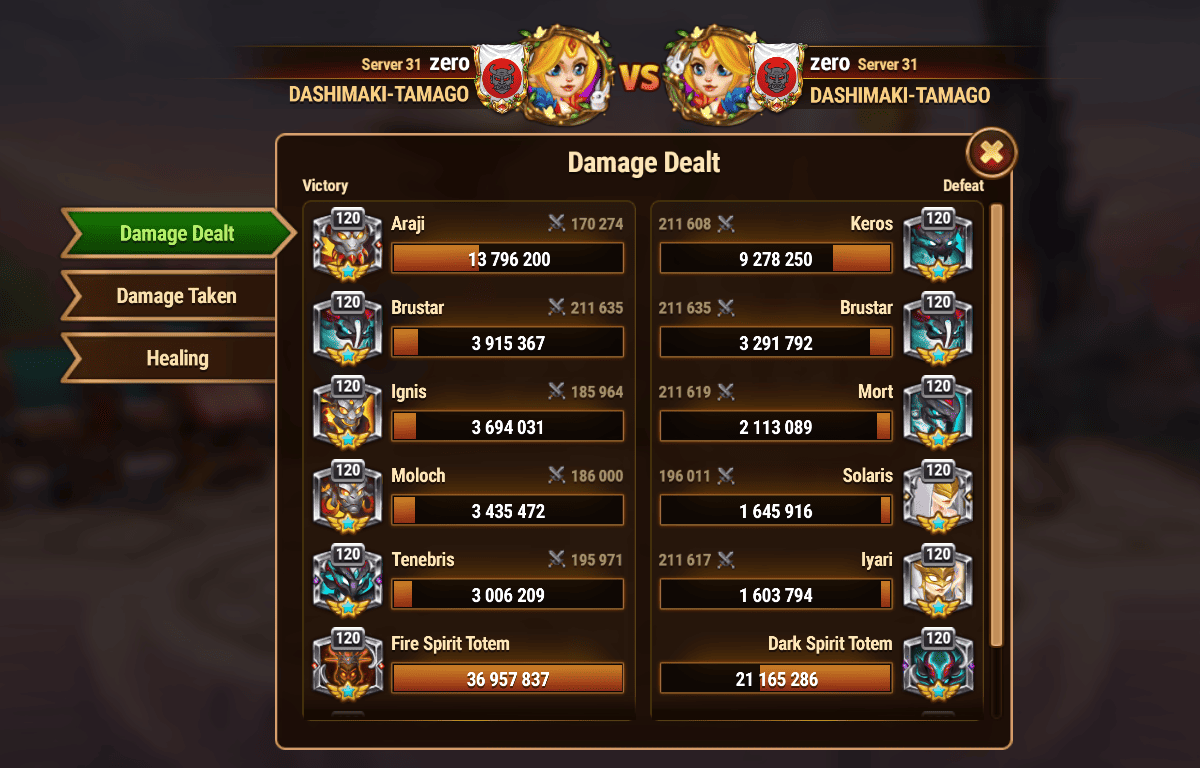
Pattern 15: Dark 3 (Keros Mort Tenebris) + Light 2 (Rigel Solaris)
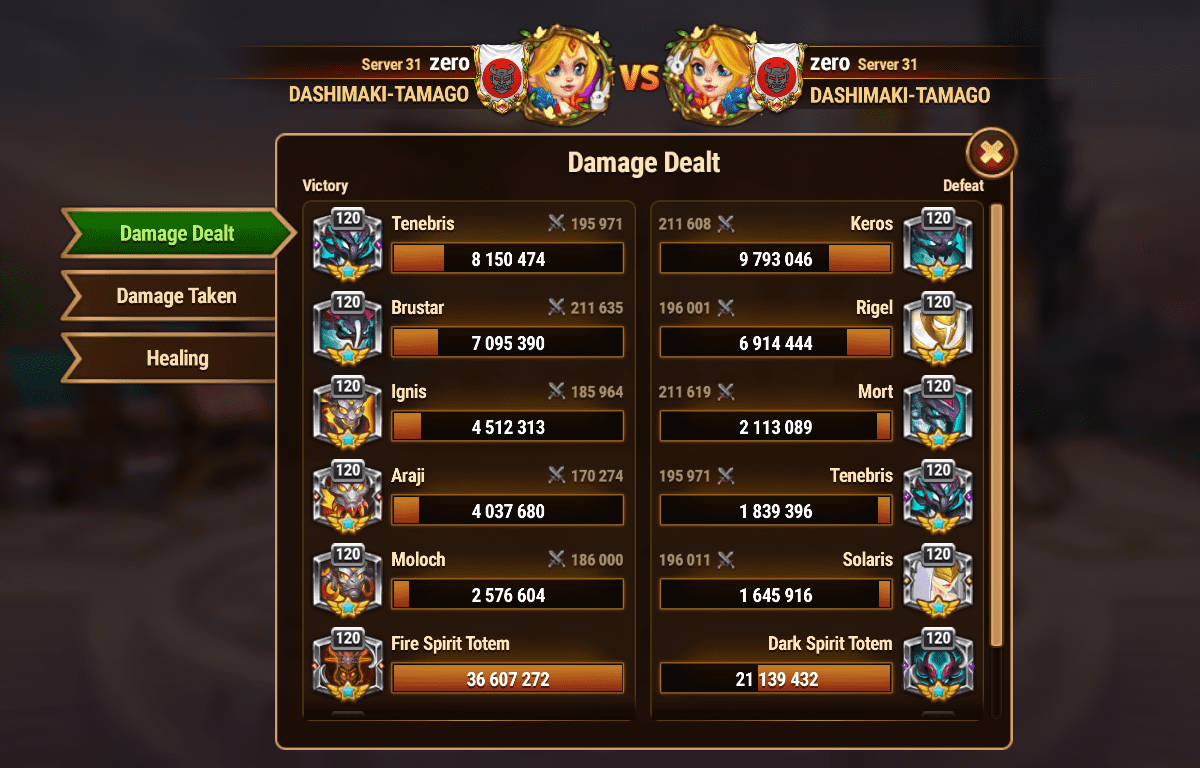
Pattern 18: Dark 3 (Bruster Keros Tenebris) + Light 2 (Rigel Solaris)
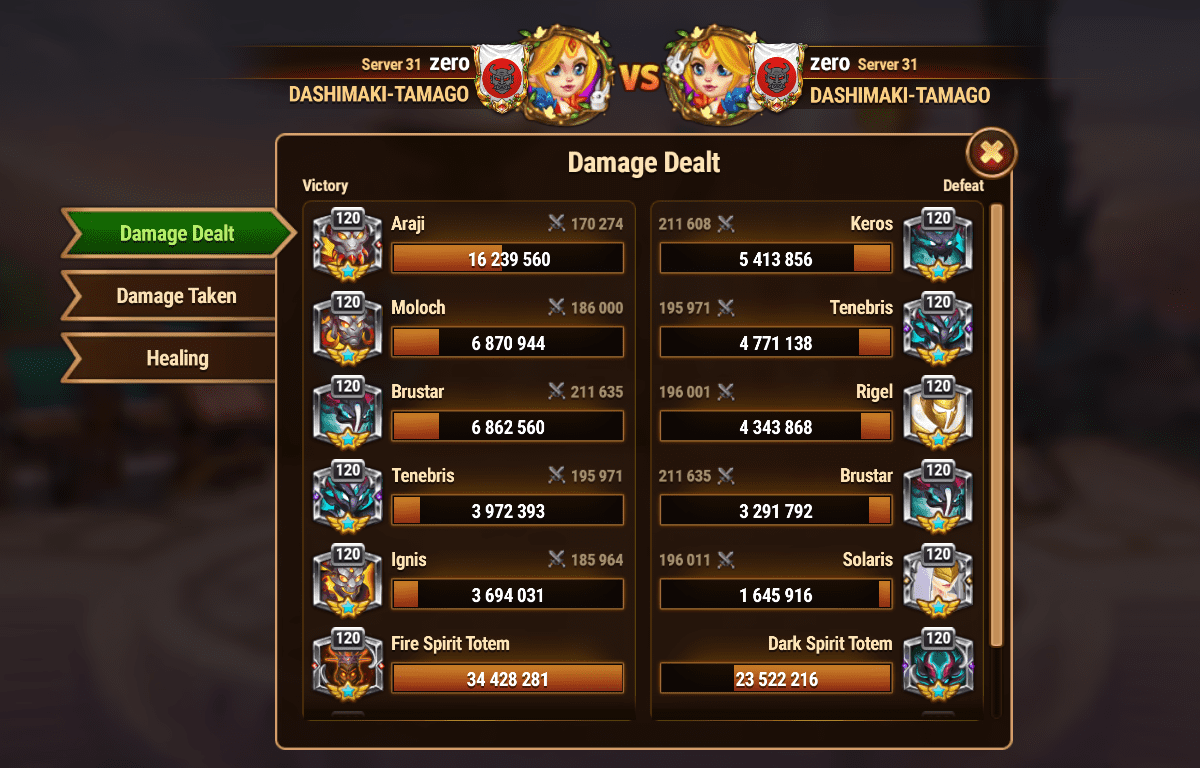
Pattern 25: Dark 3 (Bruster Keros Tenebris) + Light 2 (Amon Solaris)
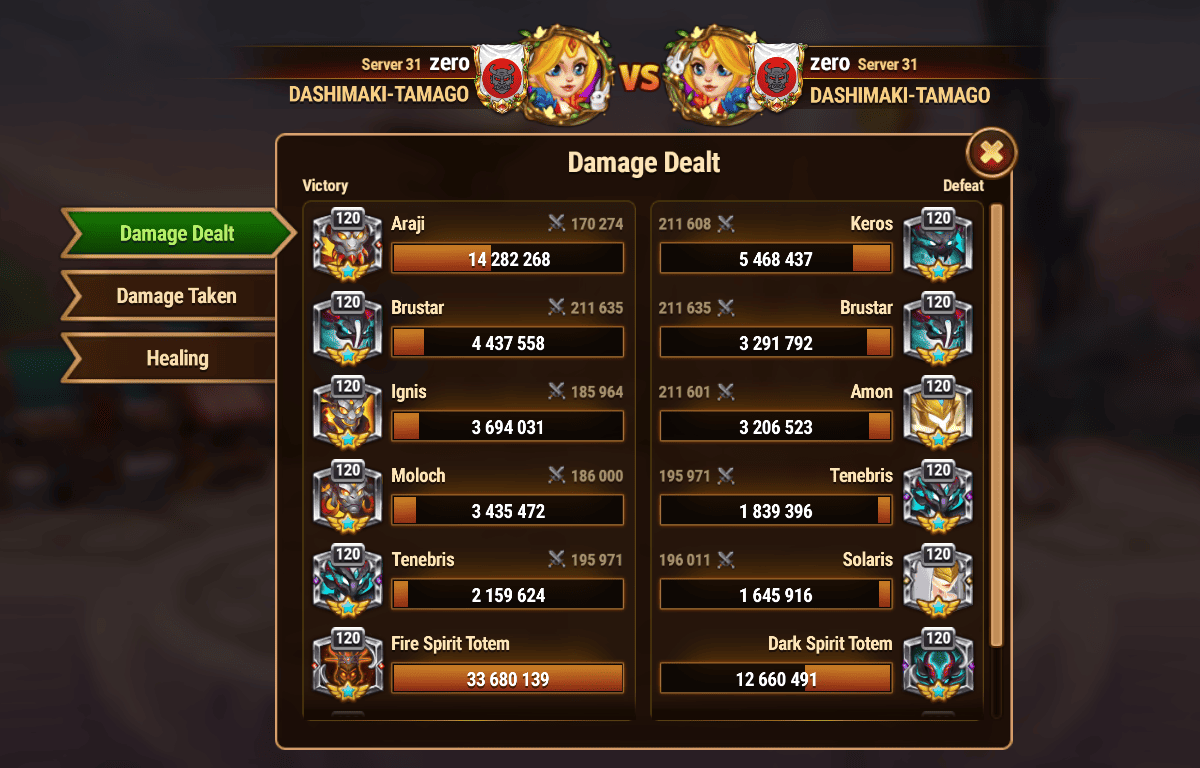
Pattern 28: Dark 3 (Mort Keros Tenebris) + Light 2 (Amon Solaris)
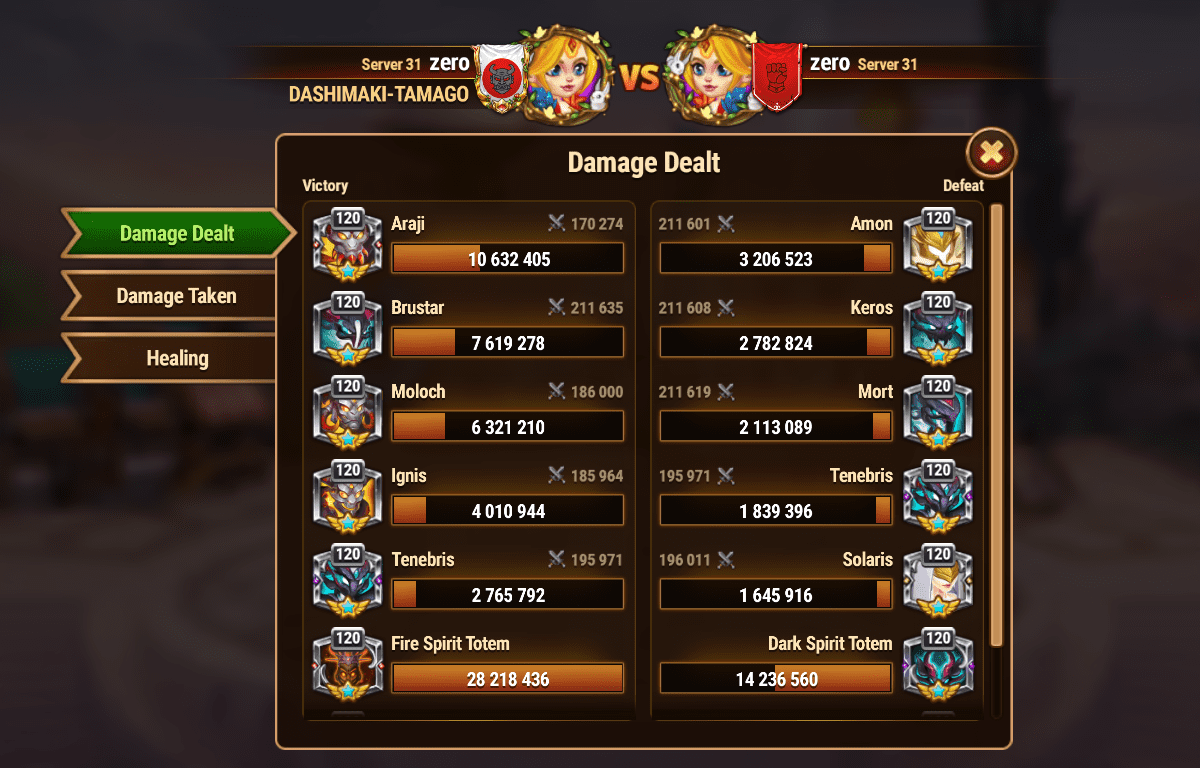
Pattern 19: Dark 3 (Bruster Mort Tenebris) + Light 2 (Amon Solaris)
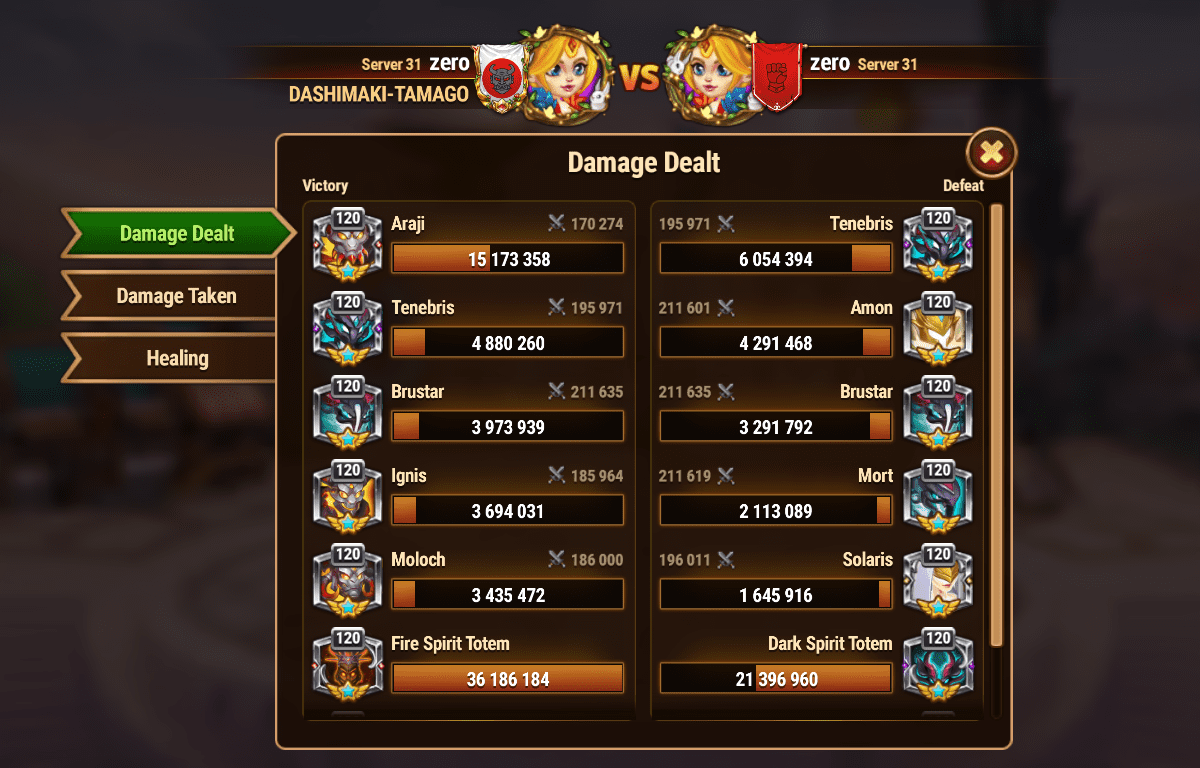
Pattern 20: Dark 3 (Bruster Mort Tenebris) + Light 2 (Amon Iyari)
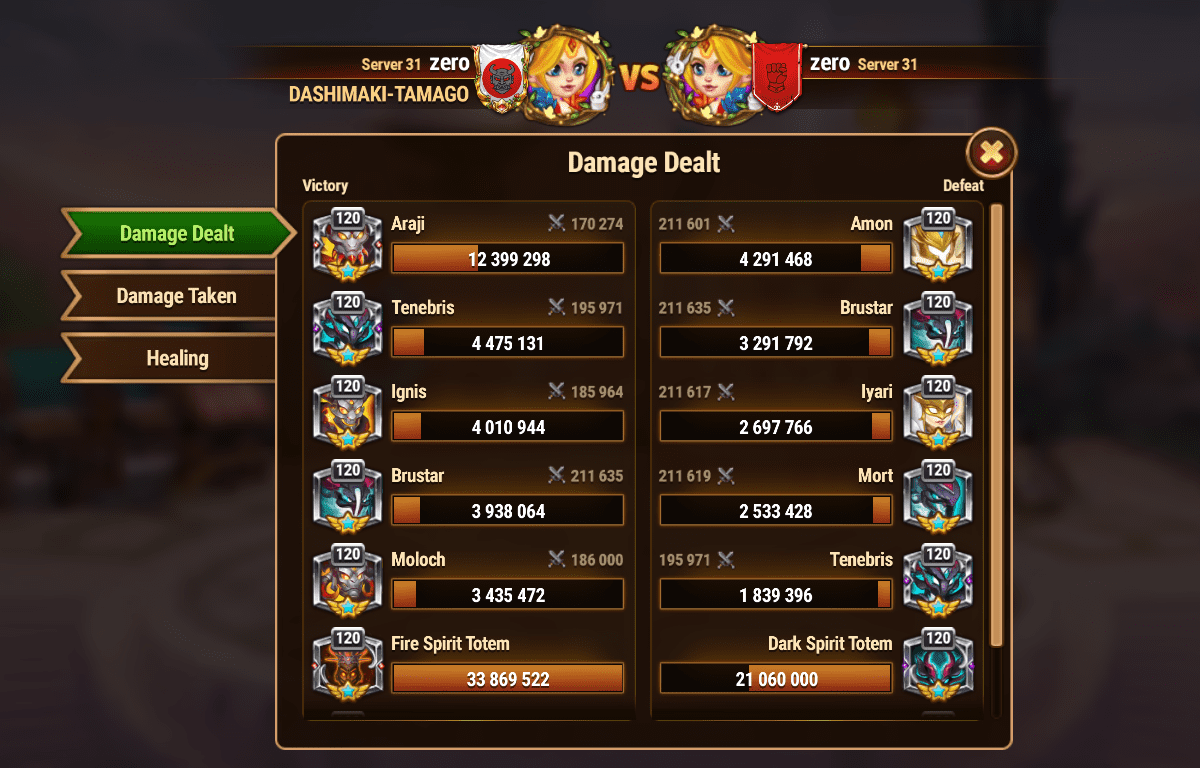
Pattern 16: Water 3 (Sigurd Nova Hyperion) + Dark 2 (Bruster Tenebris)
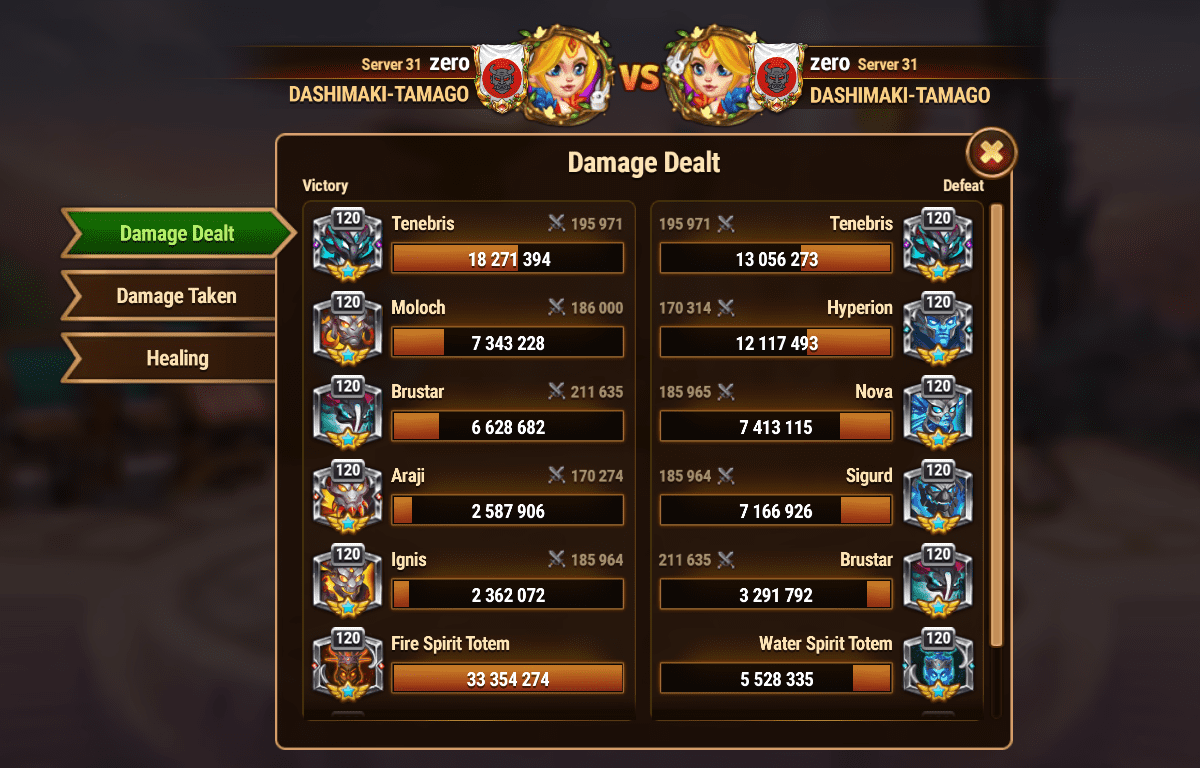
Pattern 26: Water 3 (Sigurd Nova Hyperion) + Dark 2 (Mort Tenebris)
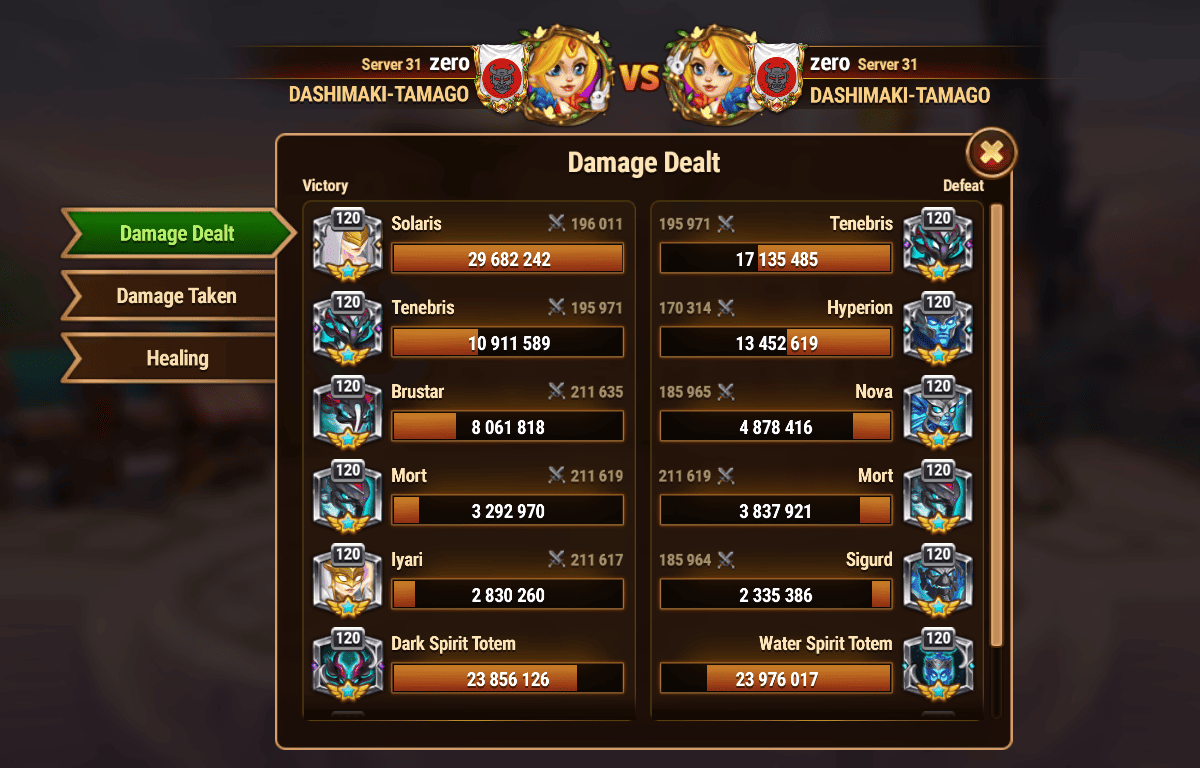
Pattern 21: Water 3 (Sigurd Nova Hyperion) + Light 2 (Iyari Solaris)
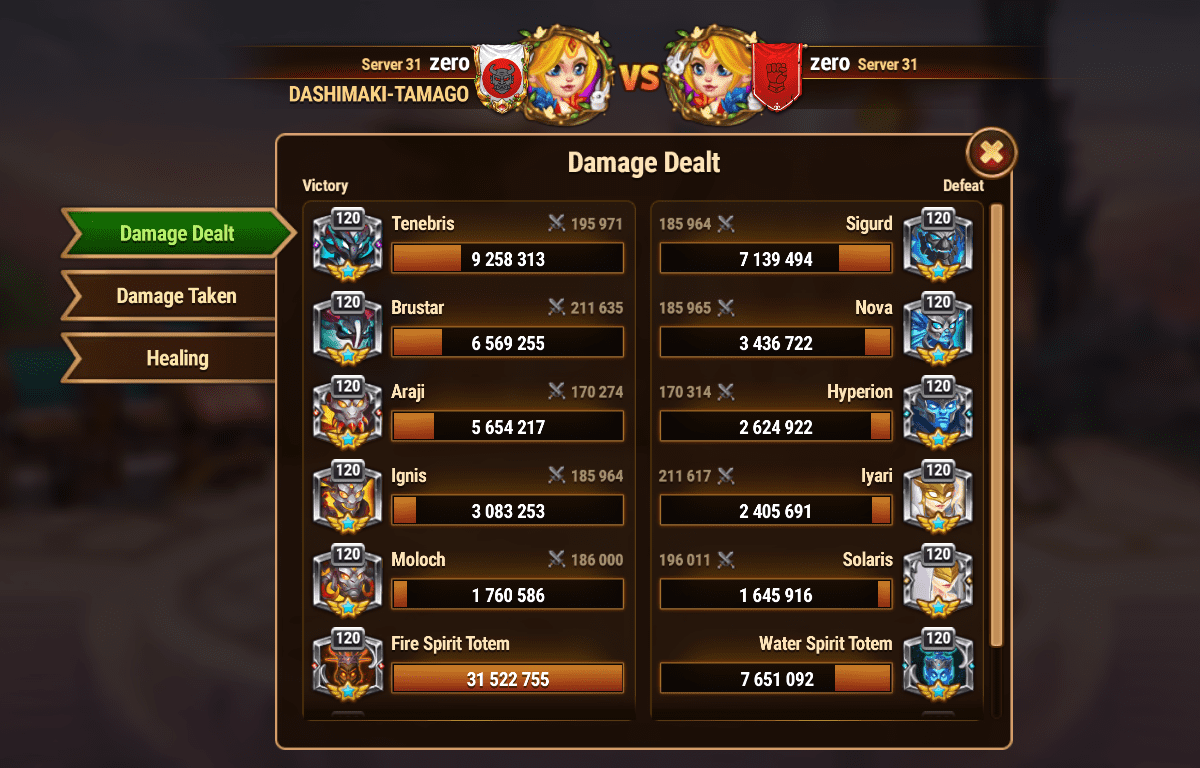
Pattern 17: Dark 2 (Bruster Tenebris) + Light 2 (Rigel Solaris) + Sigurd
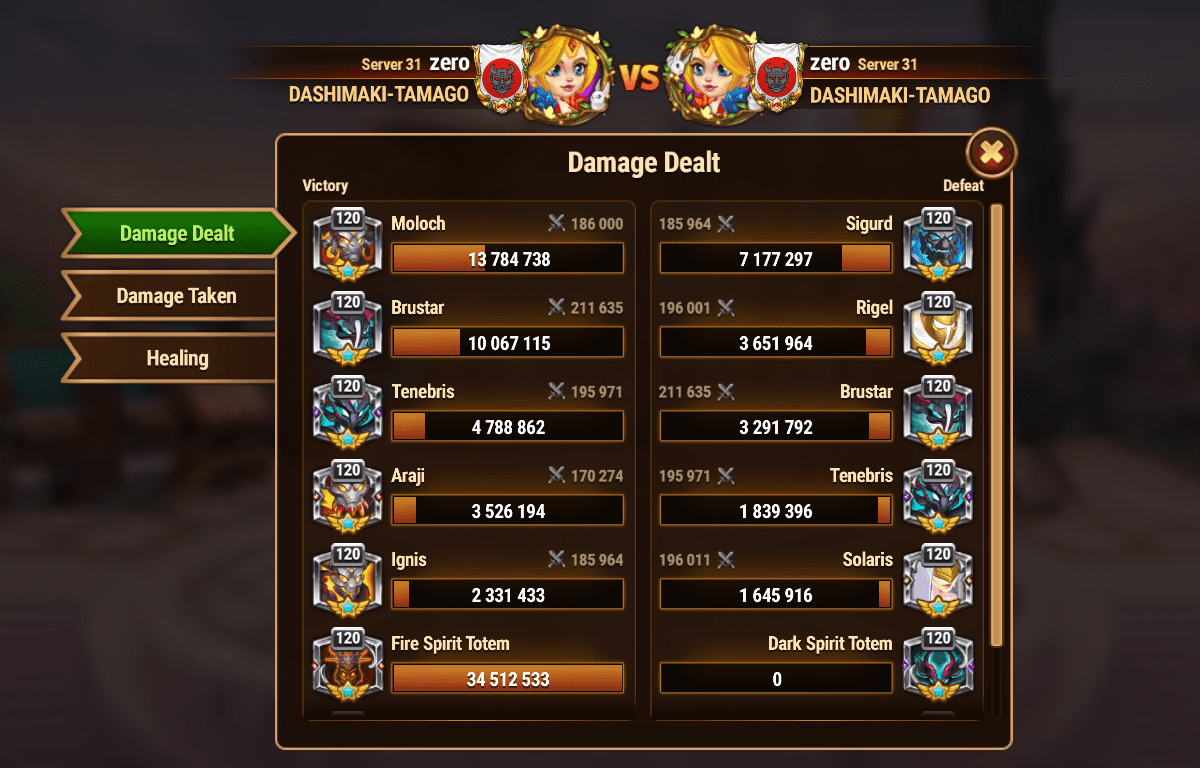
Pattern 22: Fire 3 (Moloch Araji Ignis) + Light 2 (Iyari Solaris)
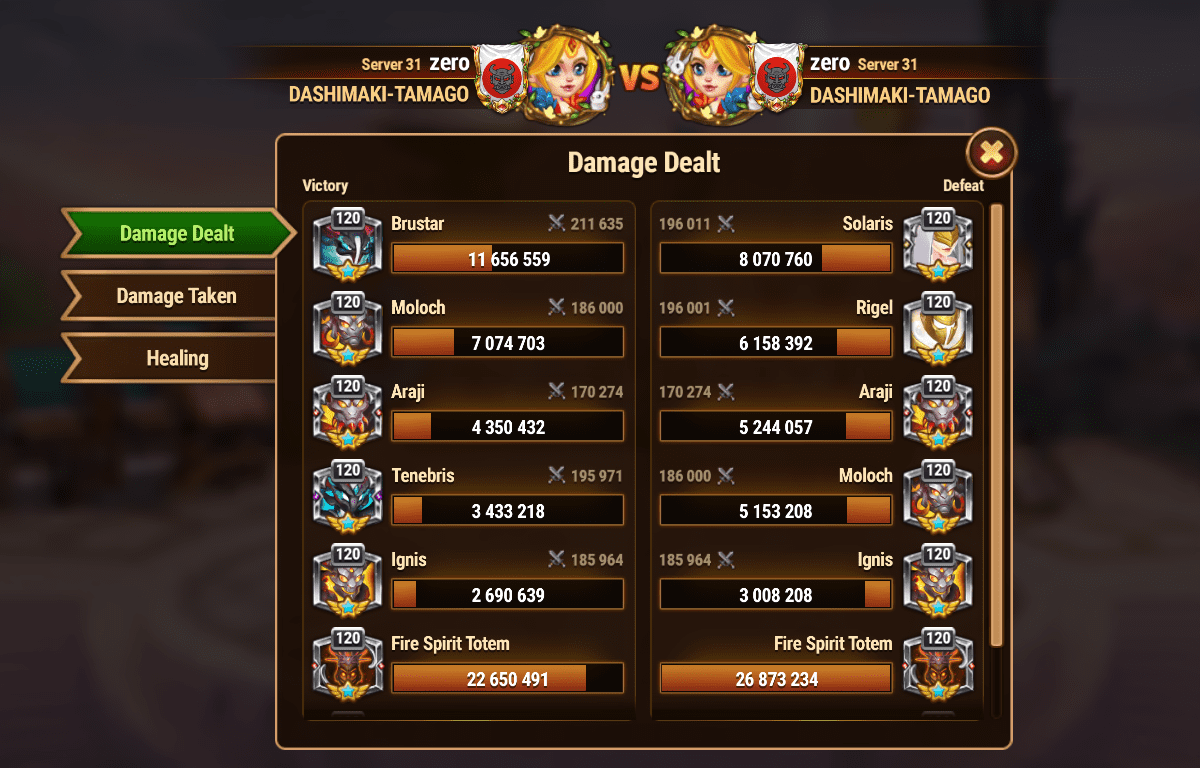
Pattern 23: Fire 4 + Solaris
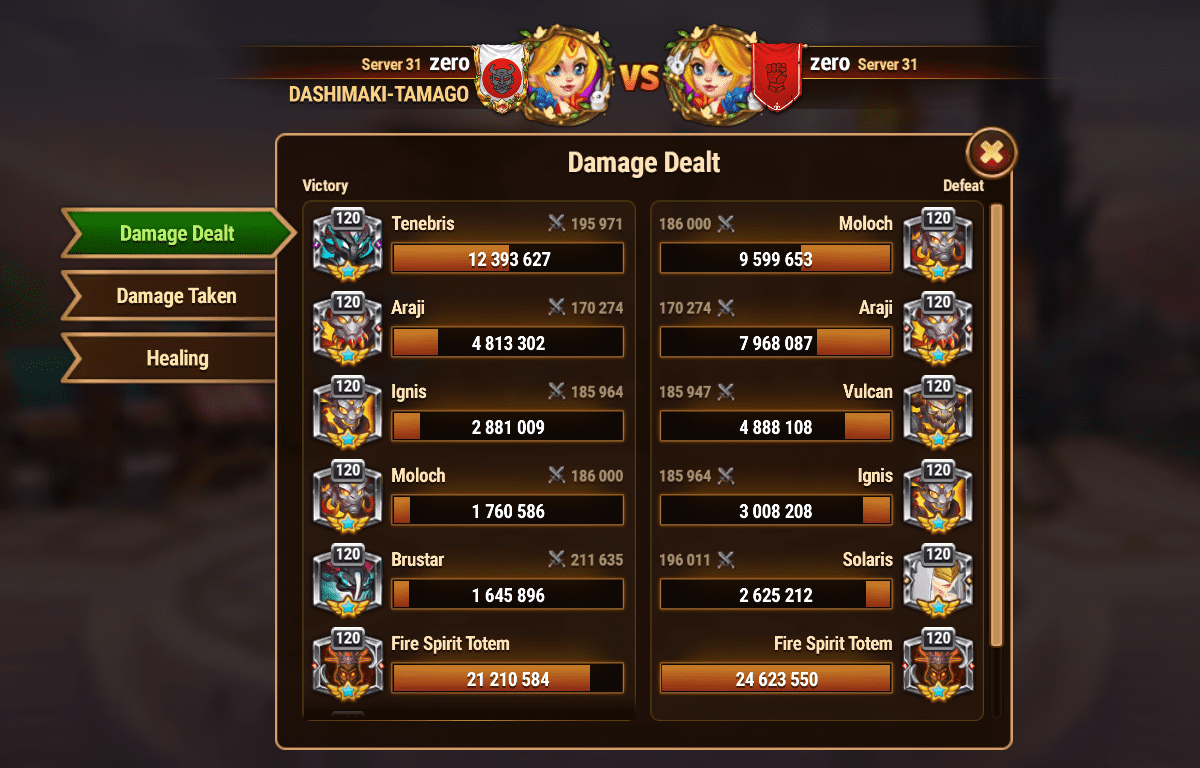
Normal List
Attacking Team (Dark 3 + Light 2)
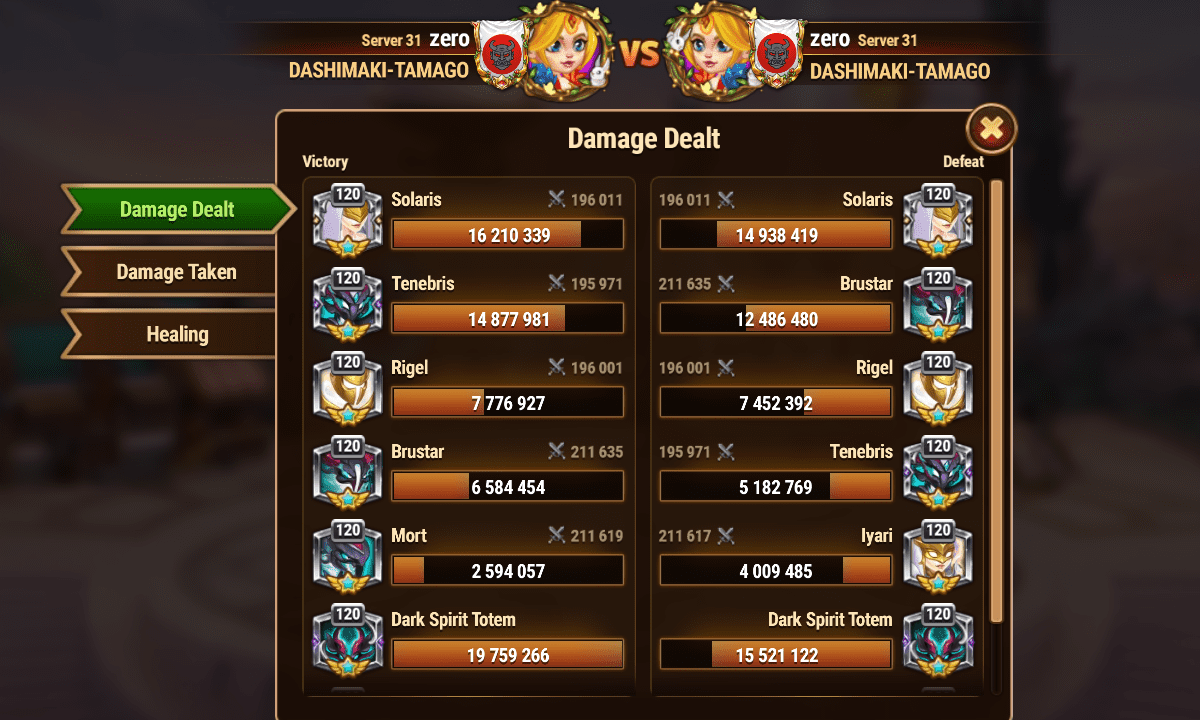
Bruster + Rigel + Mort + Solaris + Tenebris


Pattern 3: Water 4 + Araji
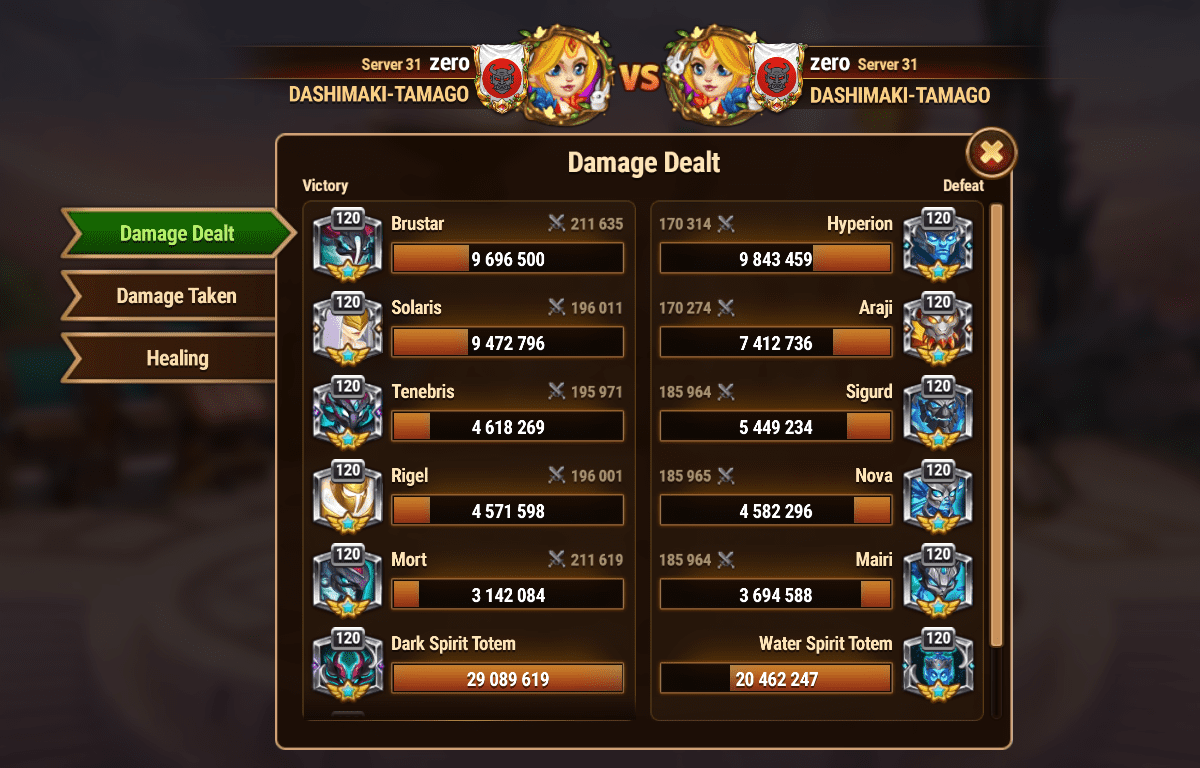
Pattern 4: Fire 4 + Hyperion
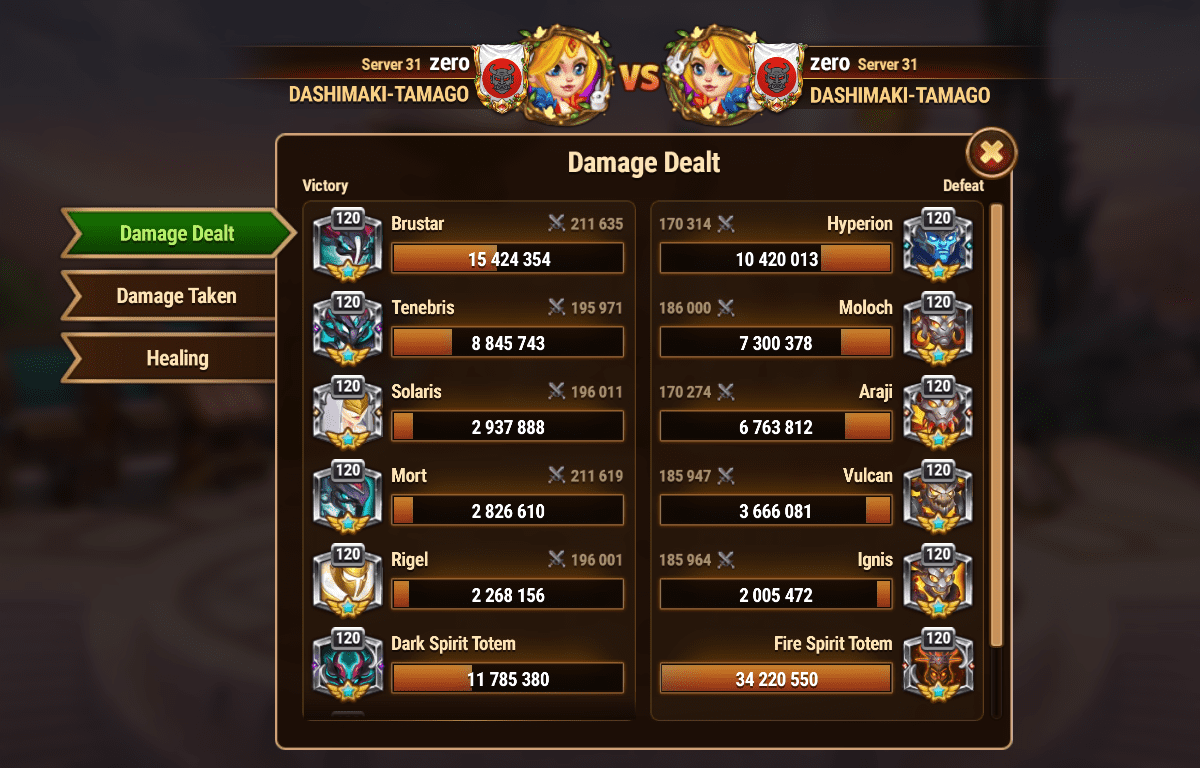
Pattern 5: Earth 4 + Araji
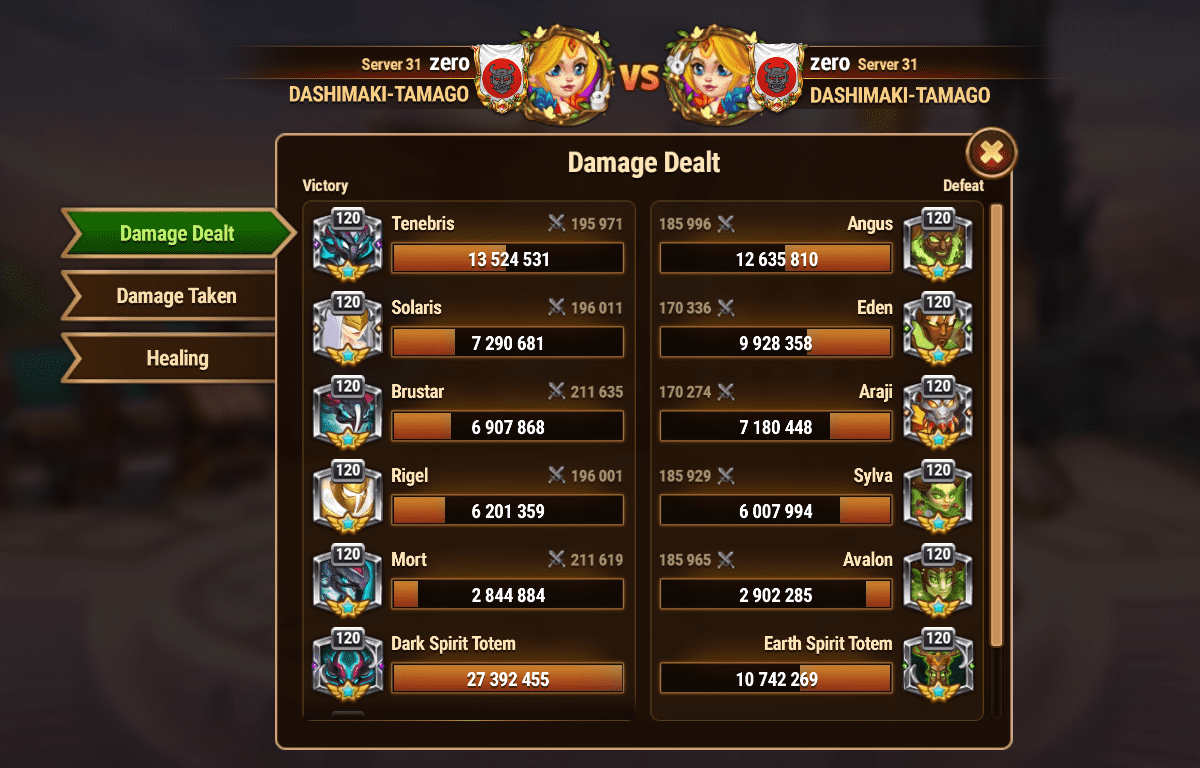
Pattern 6: Dark 4 + Solaris
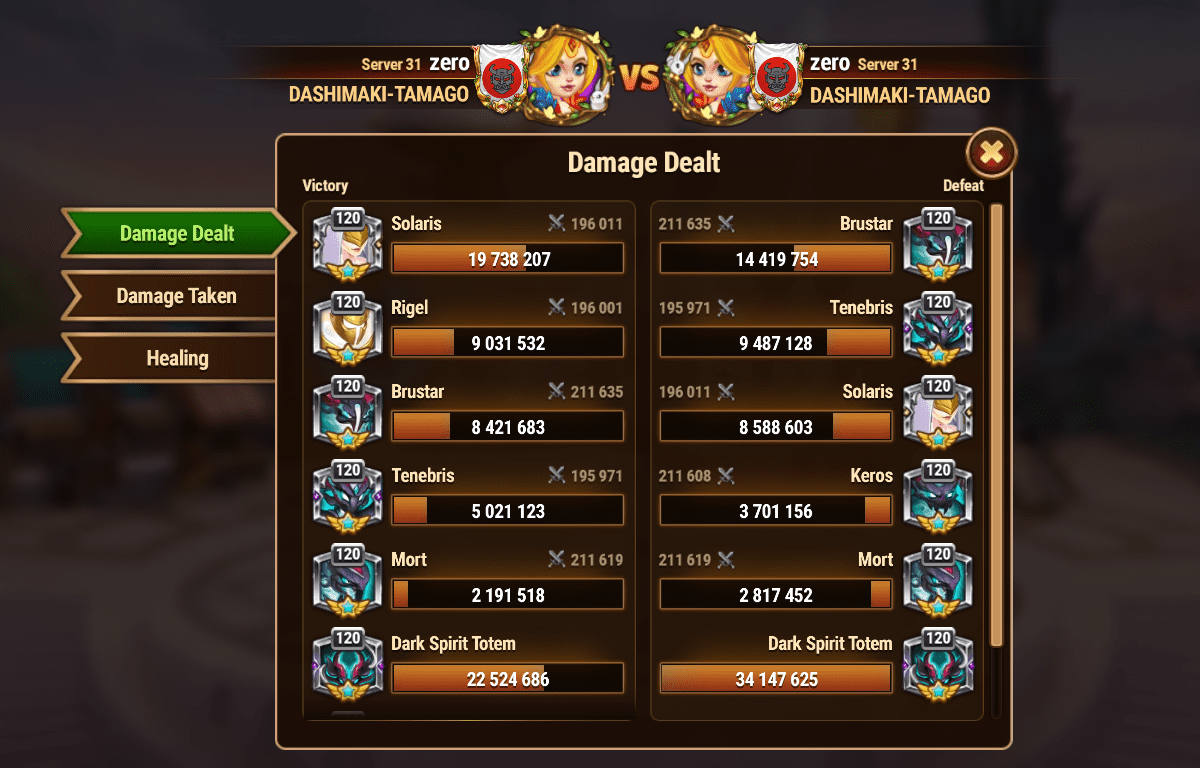
Pattern 7: Light 4 + Tenebris
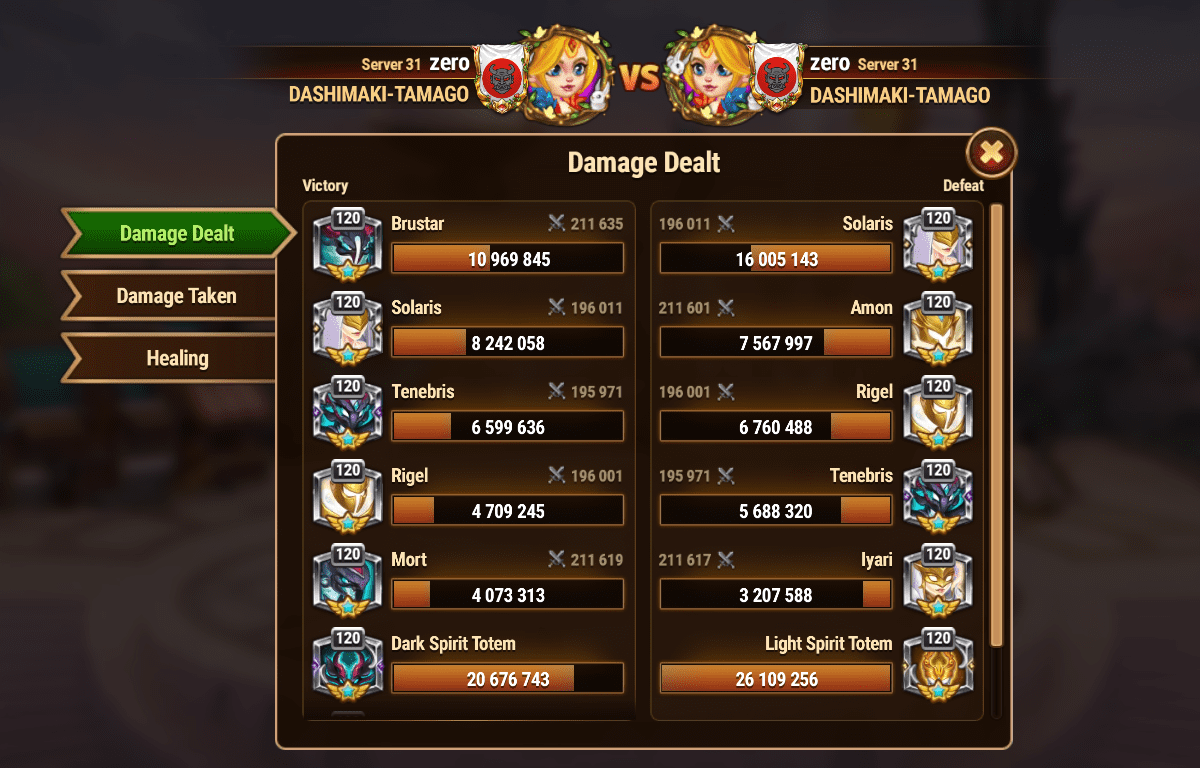
Pattern 8: Sigurd Nova Super 3
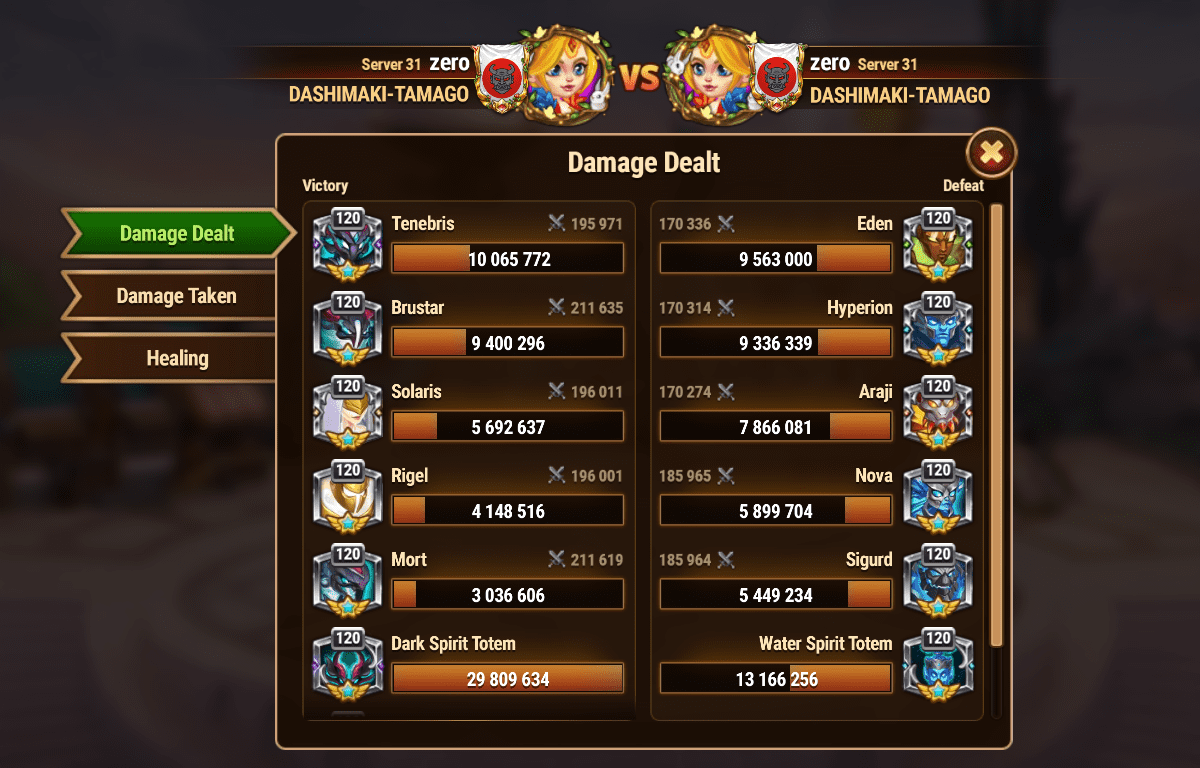
Pattern 9: Angus Silva Super 3
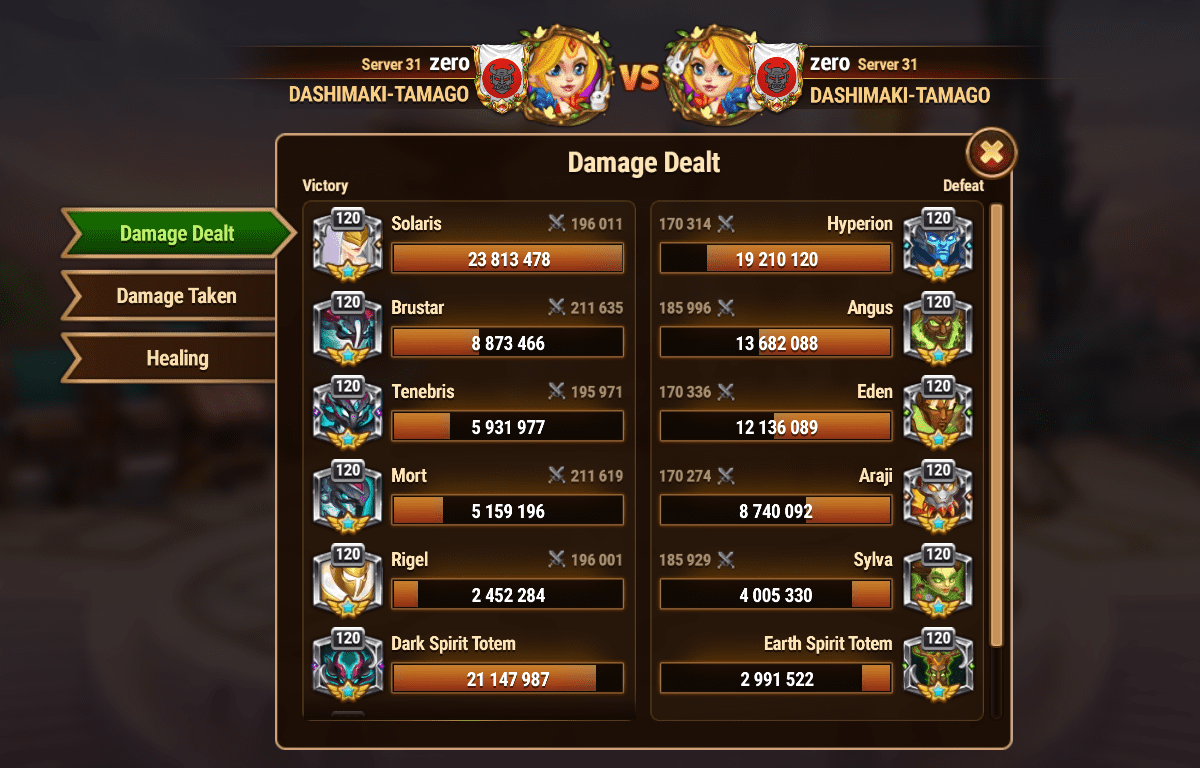
Pattern 10: Earth 3 (Angus Avalon Eden) + Light 2 (Rigel Solaris) *
* 80% win rate
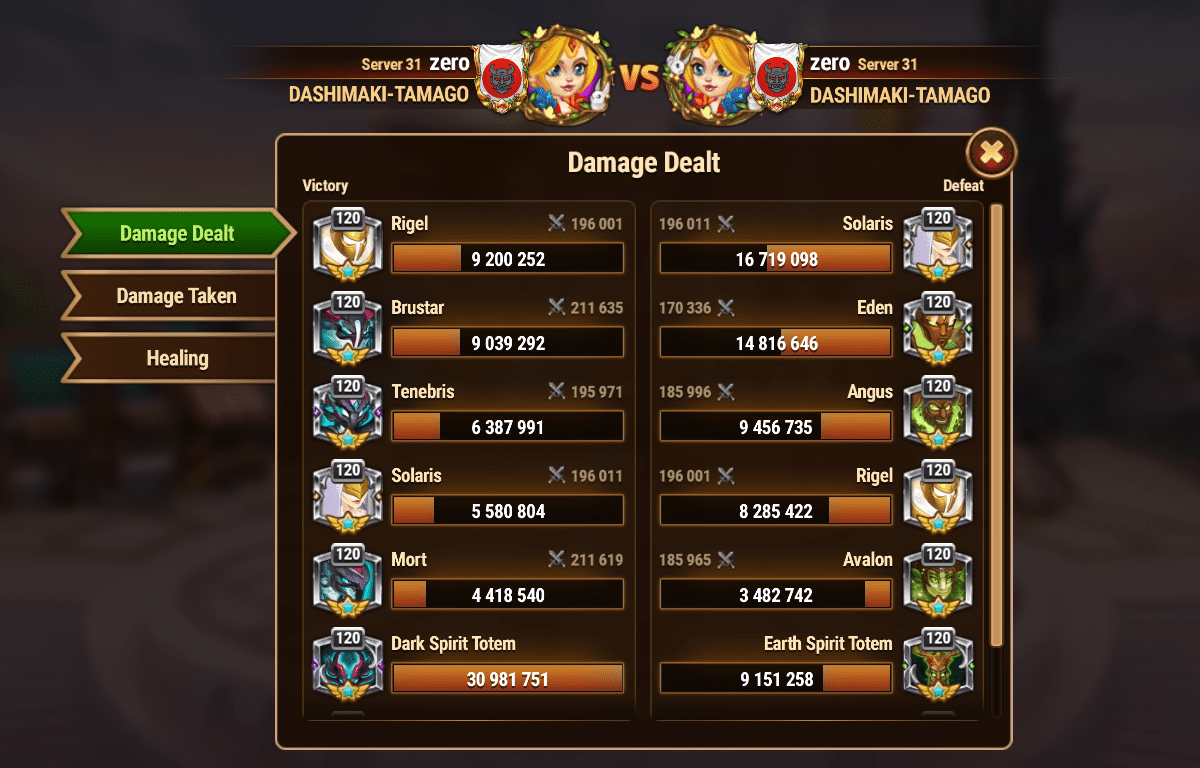
Pattern 11: Earth 3 (Angus Avalon Eden) + Light 2 (Iyari Solaris) *
* 80% win rate
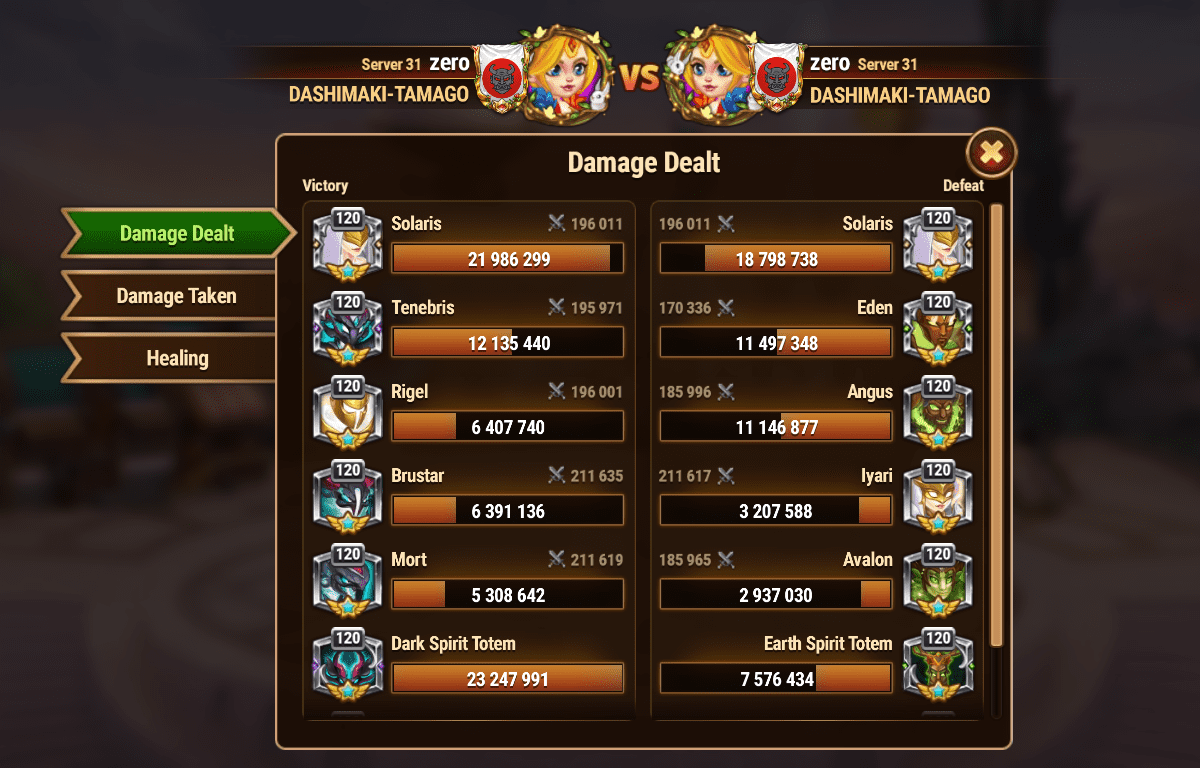
Pattern 12: Dark 3 (Bruster Mort Tenebris) + Light 2 (Rigel Solaris)
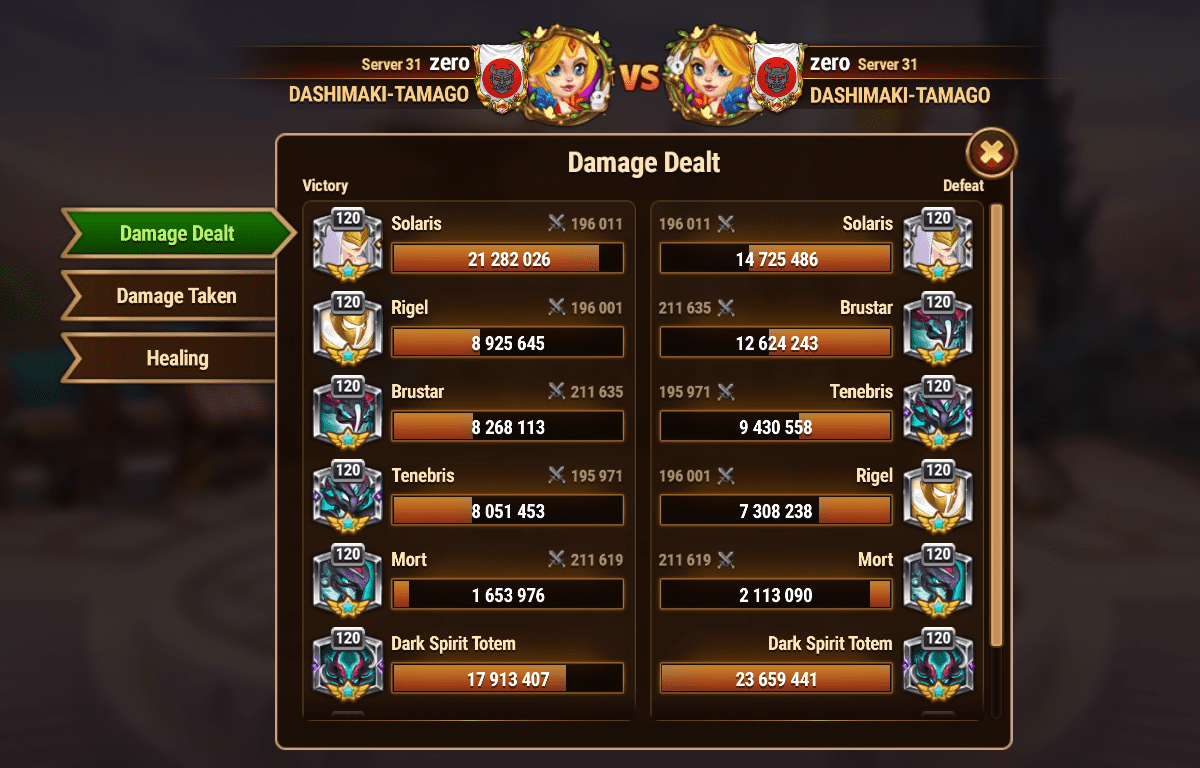
Pattern 13: Light 3 (Rigel Iyari Solaris) + Dark 2 (Bruster Tenebris)
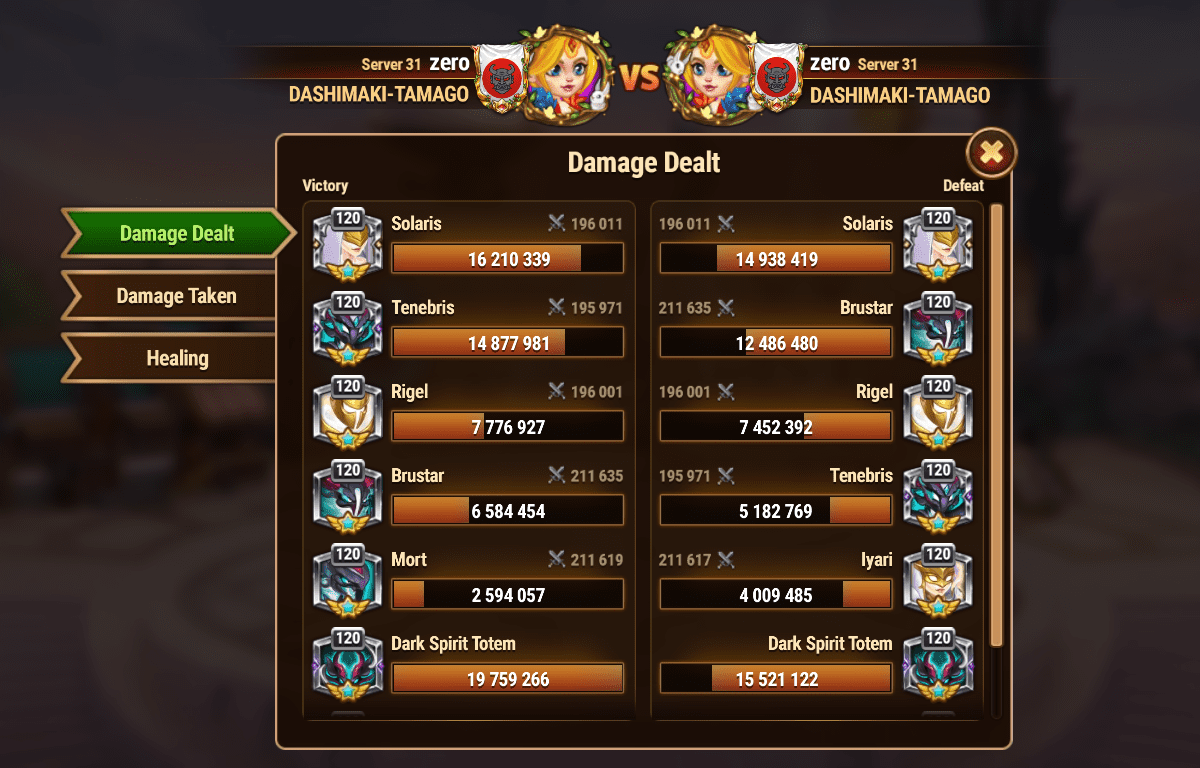
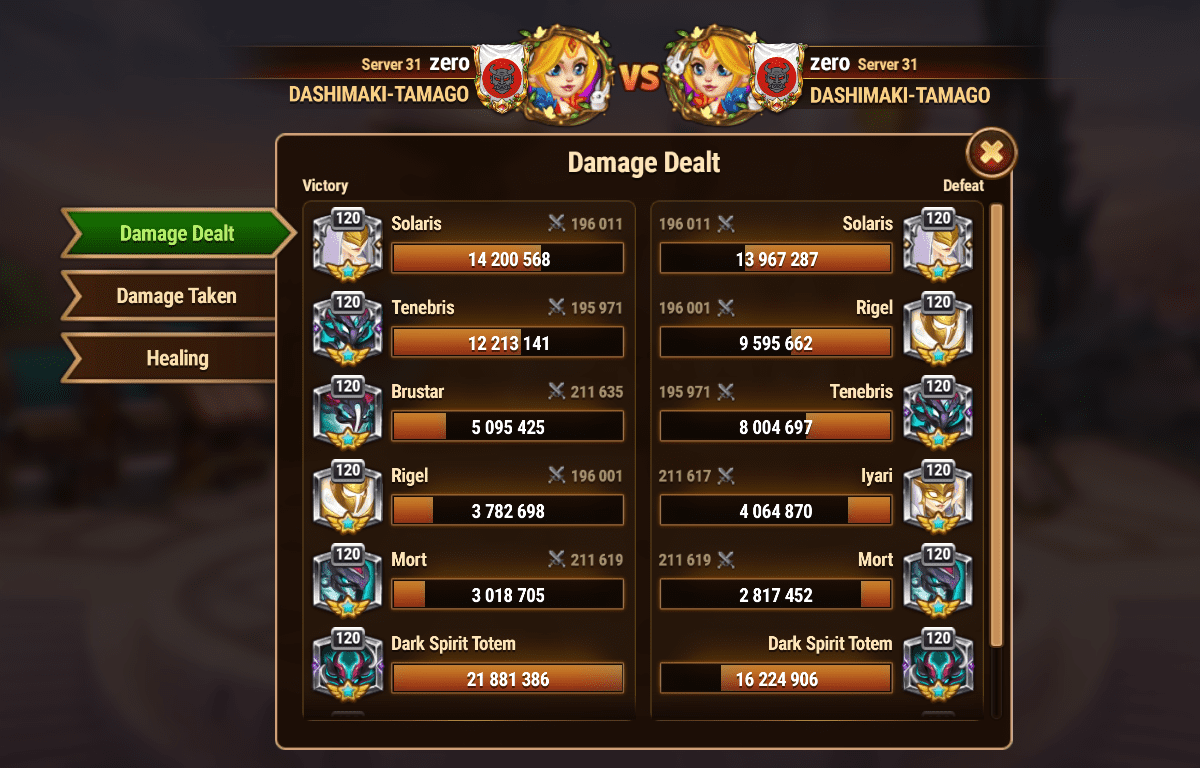
Pattern 14: Light 3 (Rigel Iyari Solaris) + Dark 2 (Mort Tenebris)
![[Hero Wars Guide] Brustars Champion Skin](https://h-w.fun/en/wp-content/uploads/sites/2/2024/01/Hero-Wars-Guide-Brustars-Champion-Skin-320x180.png)
![[Hero Wars Guide]Clash of the Titans](https://h-w.fun/en/wp-content/uploads/sites/2/2023/06/Hero-Wars-Guide-Clash-of-the-Titans-320x180.jpg)
![[Hero Wars Guide]Brawl Treasure (Clash of the Titans)1](https://h-w.fun/en/wp-content/uploads/sites/2/2023/06/Hero-Wars-GuideBrawl-Treasure-Clash-of-the-Titans1-320x180.jpg)
![[Hero Wars Guide] Titan Skins Dark](https://h-w.fun/en/wp-content/uploads/sites/2/2024/01/Hero-Wars-Guide-Titan-Skins-Dark-320x180.jpg)


![[Hero Wars] Phobos](https://h-w.fun/en/wp-content/uploads/sites/2/2024/01/Hero-Wars-Phobos-320x180.jpg)
![[Hero Wars Guide]The Great Storm MAP Strategy](https://h-w.fun/en/wp-content/uploads/sites/2/2022/09/Hero-Wars-Guide-The-Great-Storm-MAP-Strategy-320x180.jpg)
![[Hero Wars Guide] Defence Trends Meta Teams](https://h-w.fun/en/wp-content/uploads/sites/2/2023/04/Hero-Wars-Guide-Defence-Trends-Meta-Teams-320x180.png)
![[Hero Wars Guide] Famous Teams for Osh Battle](https://h-w.fun/en/wp-content/uploads/sites/2/2023/12/Hero-Wars-Guide-Famous-Teams-for-Osh-Battle-320x180.png)
![[Hero Wars Guide] Temple Guardians 130](https://h-w.fun/en/wp-content/uploads/sites/2/2024/05/Hero-Wars-Guide-Temple-Guardians-130-320x180.jpg)
![[Hero Wars Guide] Galahads Memories](https://h-w.fun/en/wp-content/uploads/sites/2/2023/12/Hero-Wars-Guide-Galahads-Memories-320x180.jpg)
![[Hero Wars] Cosmic Season](https://h-w.fun/en/wp-content/uploads/sites/2/2021/12/Hero-Wars-Cosmic-Season-320x180.jpg)
![[Hero Wars Guide]Maestro of the Phantom Orchestra](https://h-w.fun/en/wp-content/uploads/sites/2/2024/09/Hero-Wars-Phantom-Orchestra_0-320x180.jpg)
![[Hero Wars] Maestro Boss](https://h-w.fun/en/wp-content/uploads/sites/2/2025/06/Hero-Wars-Maestro-Boss-320x180.jpg)
![[Hero Wars] Official Counter Picks](https://h-w.fun/en/wp-content/uploads/sites/2/2023/10/Hero-Wars-Official-Counter-Picks-320x180.jpg)
![[Hero Wars] Interplanetary Travel](https://h-w.fun/en/wp-content/uploads/sites/2/2023/11/Hero-Wars-Interplanetary-Travel-320x180.jpg)
this team (brustar-rigel-mort-solaris-tenebris) doesn’t work against
Sigurd, Mort, Nova, Hyperion, Tenebris
Sigurd, Brustar, Rigel, Solaris, Tenebris
Thank you, I have reflected this in the article.
Hi,
Here are 4 not yet listed cases for which your default team doesn’t work, with alternatives that do work :
Against Fire 4 + Solaris :
Use the pattern 1 team :
Sigurd + Nova + Hyperion + Brustar + Tenebris
Against :
Brustar + Mort + Amon + Solaris + Tenebris
Sigurd + Nova + Hyperion + Iyari + Solaris
Rigel + Moloch + Solaris + Araji + Ignis
Use
Ignis Tenebris Araji Moloch Brustar (maybe they are other options, someone recommanded that team, and I found it won in each of those case, so I didn’t verify woth those you have already listed)
Hi, Thank you very mutch. Update List.
Against: Brustar-Rigel-Keros-Solaris-Tenebris
Use: Brustar-Moloch-Ignis-Araji-Tenebris
Thank you, add it!
How to counter 3 Light (Solaris + Iyari + Rigel) & 2 Dark (Tenebris + Brustar) ?
Check new tenebris list: No.42
https://h-w.fun/en/titan-brawl-recommended-teams-tenebris/